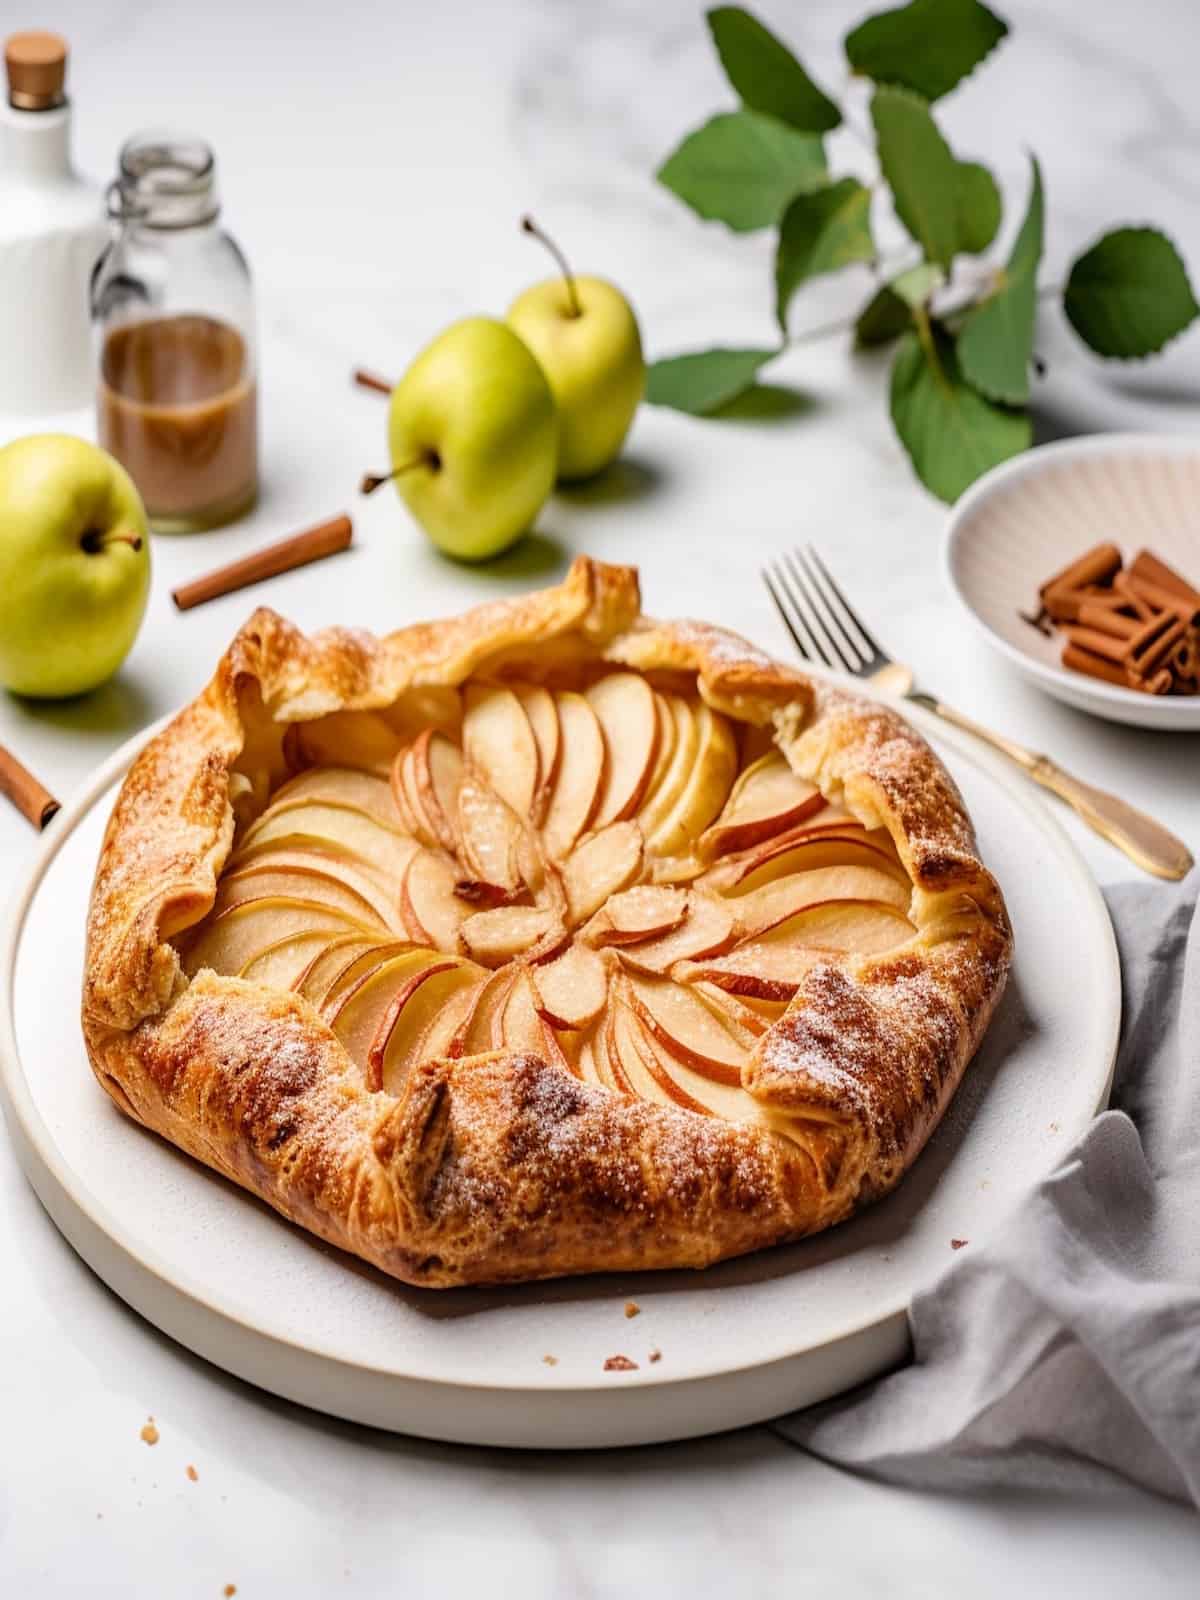
Cinnamon Pear Galette Recipe
Indulge in the warm and comforting flavors of a Cinnamon Pear Galette, where sweet, juicy pears are beautifully spiced with cinnamon and nestled inside a flaky, buttery crust. Perfect for any occasion.
Print
Pin Recipe
Equipment you will need
Food processor (for making the pie dough)
Rolling Pin
parchment paper
Baking sheet
pastry brush
mixing bowls
Knife and cutting board
Measuring cups and spoons
Ingredients
For the Pie Dough:
- 1 ¼ cups all-purpose flour
- ½ teaspoon salt
- ½ teaspoon granulated sugar
- ½ cup unsalted butter (cold and cubed)
- 3-4 tablespoons ice water
For the Pear Filling:
- 4-5 pears (ripe, peeled, cored, and thinly sliced)
- ½ cup granulated sugar
- 2 tablespoons cornstarch
- 1 teaspoon ground cinnamon
- 1 tablespoon lemon juice
- ½ teaspoon vanilla extract (optional)
For the Egg Wash:
- 1 egg (beaten)
Instructions
Step 1: Prepare the Pie Dough
- In a food processor, combine the flour, salt, and granulated sugar.
- Add the cold, cubed butter and pulse until the mixture resembles coarse crumbs.
- Gradually add ice water, one tablespoon at a time, pulsing until the dough just comes together.
- Form the dough into a disk, wrap it in plastic wrap, and refrigerate for at least 30 minutes.
Step 2: Preheat the Oven
- Preheat your oven to 375°F (190°C).
Step 3: Roll Out the Dough
- On a floured surface, roll out the pie dough into a circle that's about 12-14 inches in diameter.
- Transfer the rolled-out dough onto a parchment paper-lined baking sheet.
Step 4: Prepare the Pear Filling
- In a mixing bowl, combine the sliced pears, granulated sugar, cornstarch, ground cinnamon, lemon juice, and optional vanilla extract. Toss until well coated.
Step 5: Assemble the Galette
- Arrange the pear mixture evenly over the center of the rolled-out pie dough, leaving about a 2-inch border.
- Fold the edges of the dough over the pears, pleating as you go to create a rustic, open-faced tart.
Step 6: Egg Wash
- Brush the edges of the dough with the beaten egg to give the crust a golden finish.
Step 7: Bake
- Place the galette in the preheated oven and bake for 35-40 minutes, or until the crust is golden brown and the pear filling is tender.
Step 8: Cool and Serve
- Allow the galette to cool on the baking sheet for about 10 minutes before slicing.
- Serve warm, and enjoy your homemade Cinnamon Pear Galette!
Notes
- Choosing the Pears: Opt for pears that are ripe but still firm. This will ensure that they hold their shape during baking and provide a pleasant texture in the galette.
- Preventing Soggy Crust: To prevent the crust from becoming soggy, sprinkle a little flour or ground almonds on the bottom of the galette before arranging the pear slices. This helps to absorb excess moisture from the pears as they bake.
- Adjusting the Sweetness: The sweetness of pears can vary, so taste a slice before adding sugar to the filling. Adjust the amount of sugar accordingly to achieve the desired level of sweetness.
- Spicing it Up: Feel free to experiment with additional spices to enhance the flavor profile. Try adding a pinch of nutmeg, cloves, or cardamom to complement the cinnamon and add depth to the filling.
- Creating a Rustic Appearance: Don't worry about making the galette look perfect! Embrace its rustic charm by folding the edges of the dough in a free-form manner. Imperfections add to the character and homemade appeal of the galette.
- Baking Time: Keep an eye on the galette while it bakes. The baking time may vary depending on your oven and the juiciness of the pears. The crust should be golden brown, and the pears should be tender when pierced with a fork.
- Serving and Storage: The Cinnamon Pear Galette is best enjoyed fresh out of the oven, when the crust is at its flakiest. However, if you have leftovers, you can store them in an airtight container at room temperature for up to 2 days. Reheat slices in a preheated oven at 325°F (160°C) for a few minutes to restore their crispness.
- Adding a Topping: Enhance the presentation and flavor by adding a drizzle of caramel sauce, a sprinkle of powdered sugar, or a dollop of whipped cream or vanilla ice cream before serving. These additions complement the warm flavors of the galette and add a touch of indulgence.
- Creative Variations: Feel free to experiment with different fruits and spices to create your own unique galette. Consider using apples, peaches, or berries as alternatives to pears. You can also incorporate chopped nuts or dried fruits into the filling for added texture and flavor.
- Enjoying Seasonally: The Cinnamon Pear Galette is a delightful fall dessert that captures the essence of the season. However, you can enjoy it all year round by adjusting the fruit selection to what is in season or readily available.
Nutrition
Serving: 1 servingCalories: 293 kcalCarbohydrates: 44 gProtein: 3 gFat: 13 gSaturated Fat: 8 gPolyunsaturated Fat: 1 gMonounsaturated Fat: 3 gTrans Fat: 0.5 gCholesterol: 51 mgFiber: 3 gSugar: 22 gIron: 1 mg
Tried this recipe?Mention @sweetspotbakeblog or tag #bakewithsweetspot!
Share on Facebook
Share by Email
Share on Twitter